
Starting Seeds Indoors
Are you eager to get your hands dirty and kickstart your garden before the warmth of spring arrives? Starting seeds indoors is a fantastic way to get a head start on your gardening goals, allowing you to nurture delicate seedlings in the comfort of your own home. Not only does it extend your growing season, but it also offers you greater control over the entire process, from seed selection to transplanting.
Starting seeds indoors is a rewarding and fulfilling process that allows you to witness the miracle of growth firsthand. Whether you're a seasoned gardener or a novice enthusiast, it's a journey well worth embarking on. So, roll up your sleeves, gather your supplies, and let the gardening adventure begin!
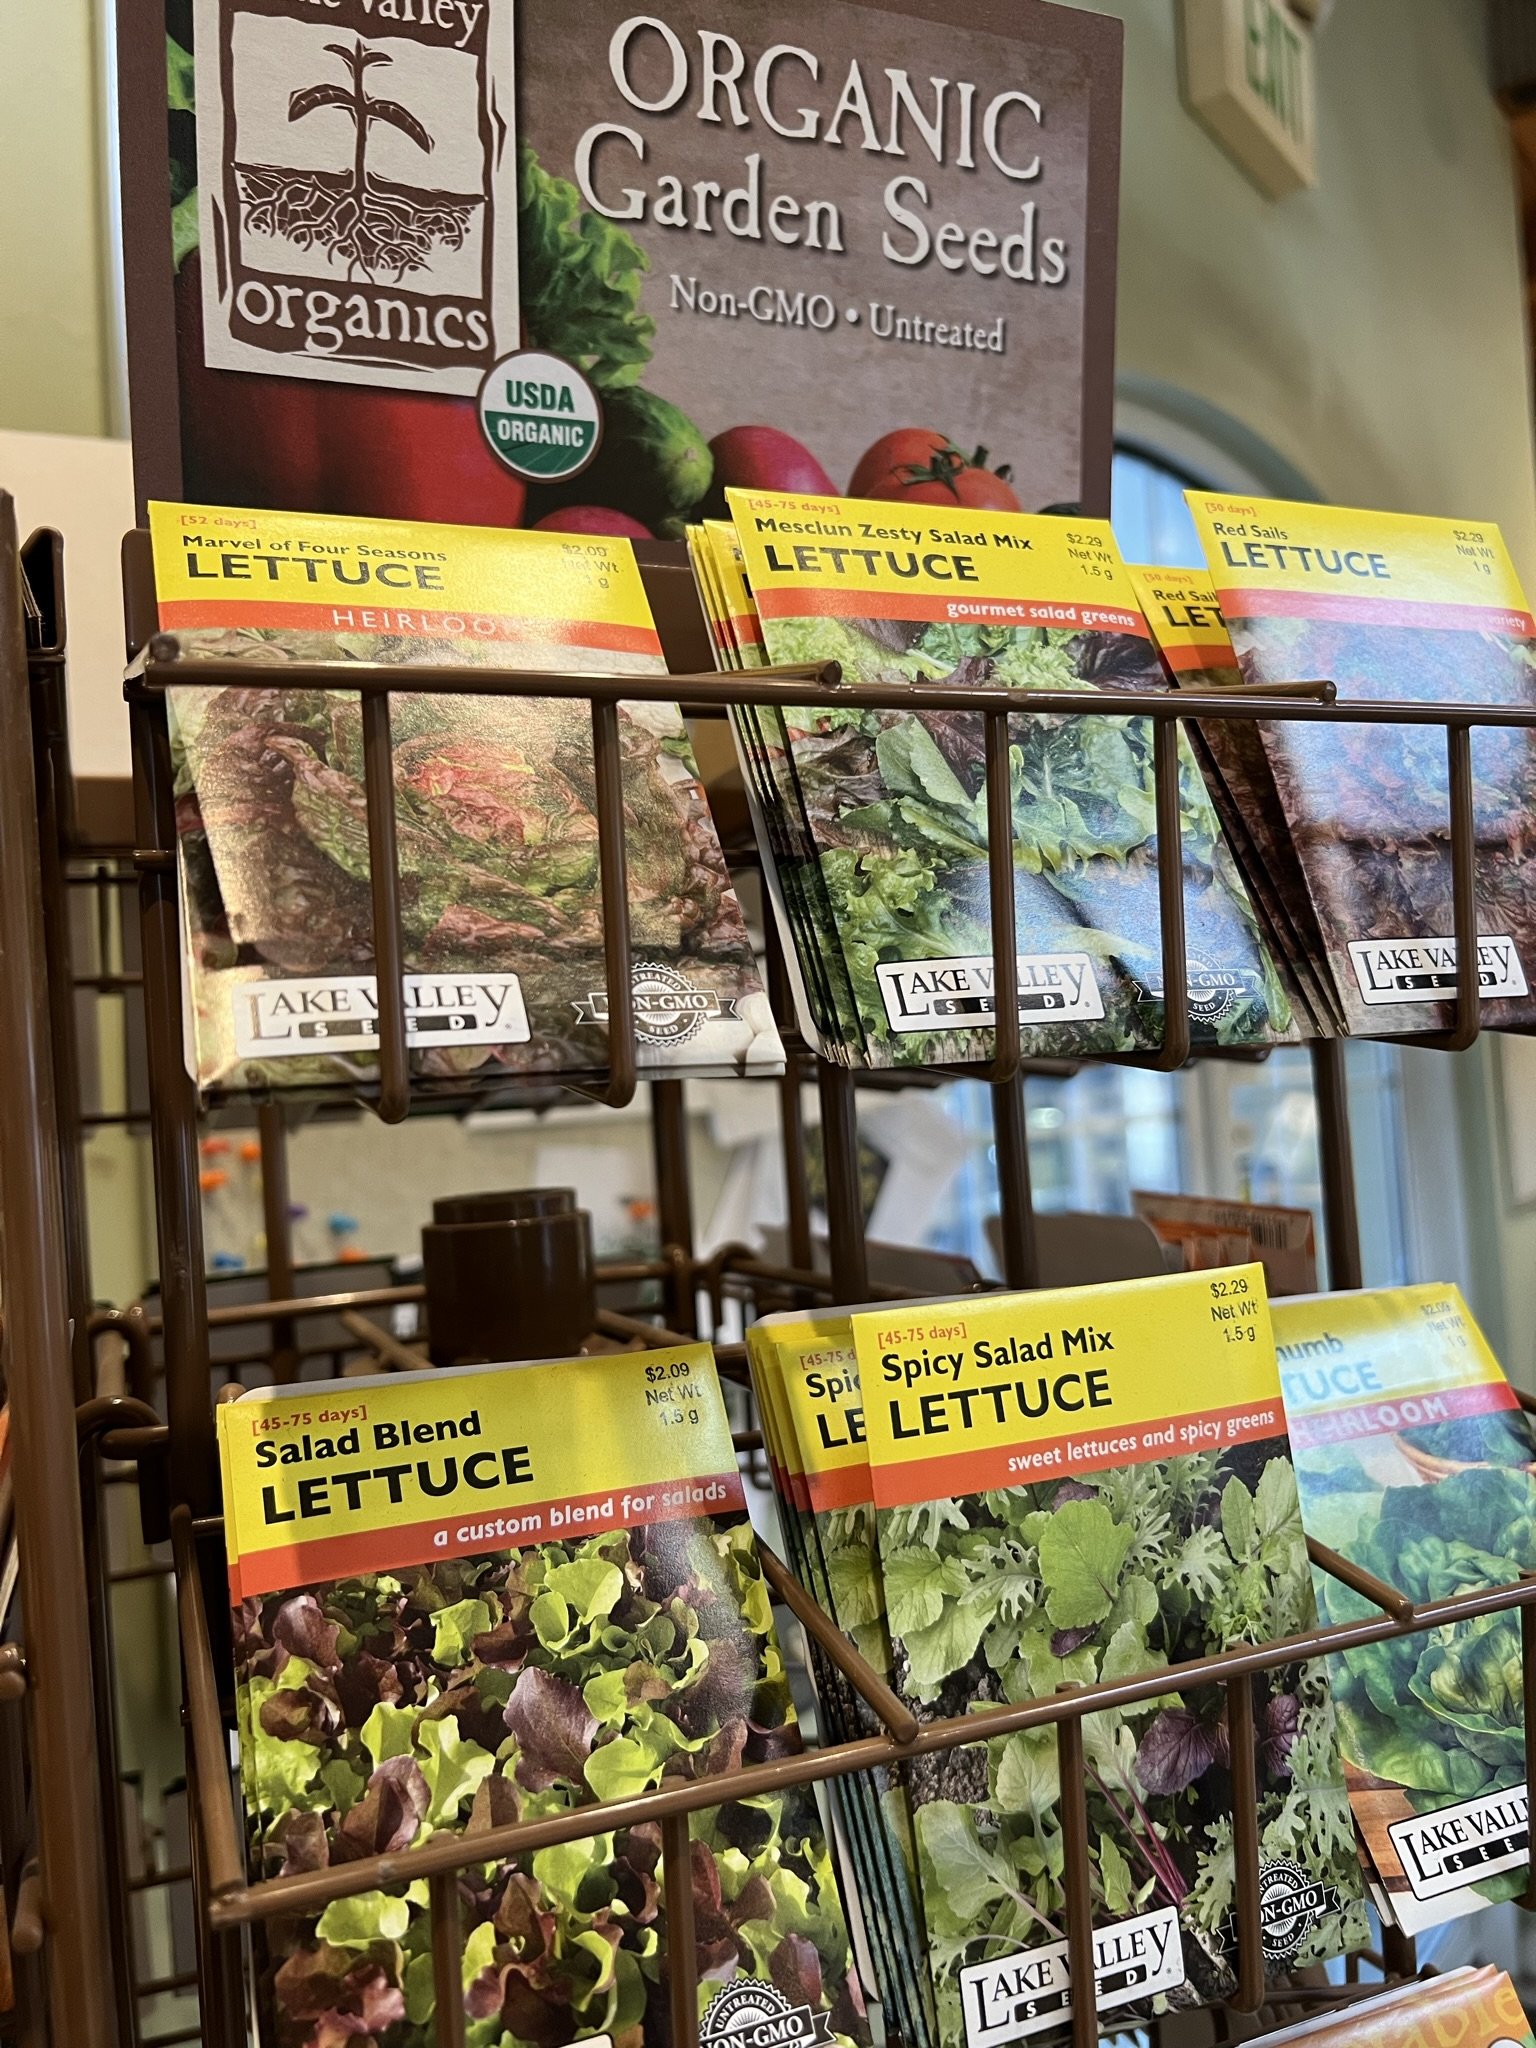

Select Your Seeds- Choose seeds that are suitable for indoor starting and fit well with your climate and growing conditions. Consider factors such as the amount of sunlight your indoor space receives and the final size of the plants.
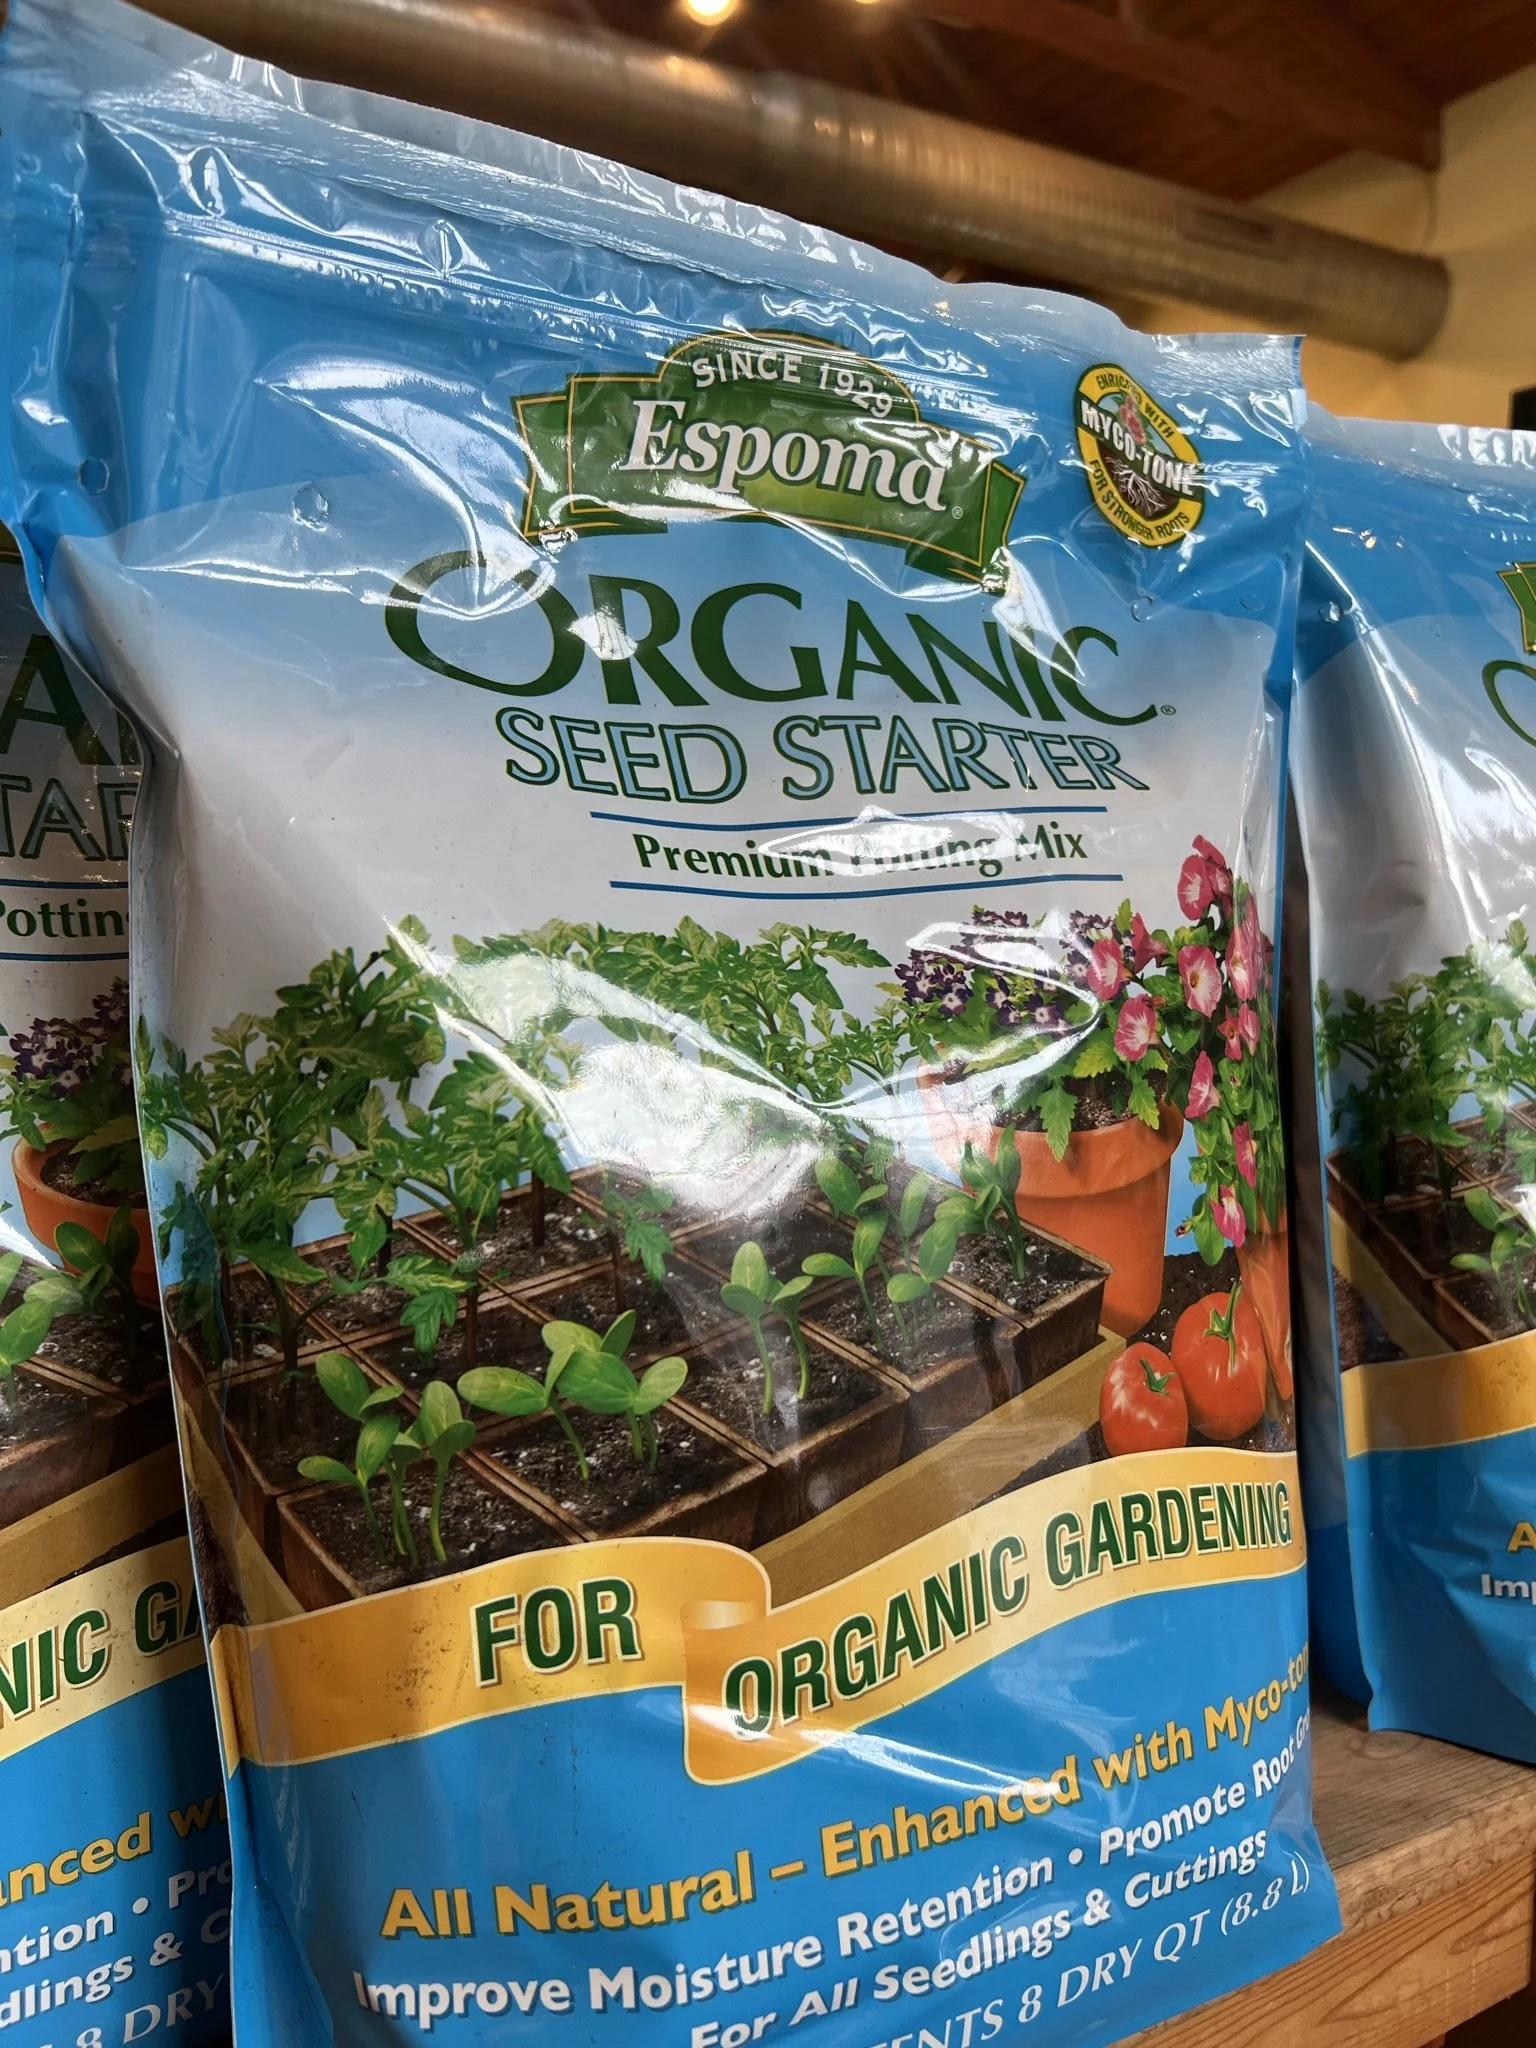
Gather Supplies- You'll need containers (such as seed trays or pots), a quality seed-starting mix, seeds, labels, and a watering can or spray bottle.
Prepare Containers- Ensure your containers are clean and have drainage holes to prevent waterlogging. Fill them with a moistened seed-starting mix, leaving a small gap at the top.
Planting Seeds- Follow the instructions on the seed packets regarding planting depth and spacing. Typically, you'll place seeds at a depth of two to three times their diameter. Gently press the soil to ensure good seed-to-soil contact.
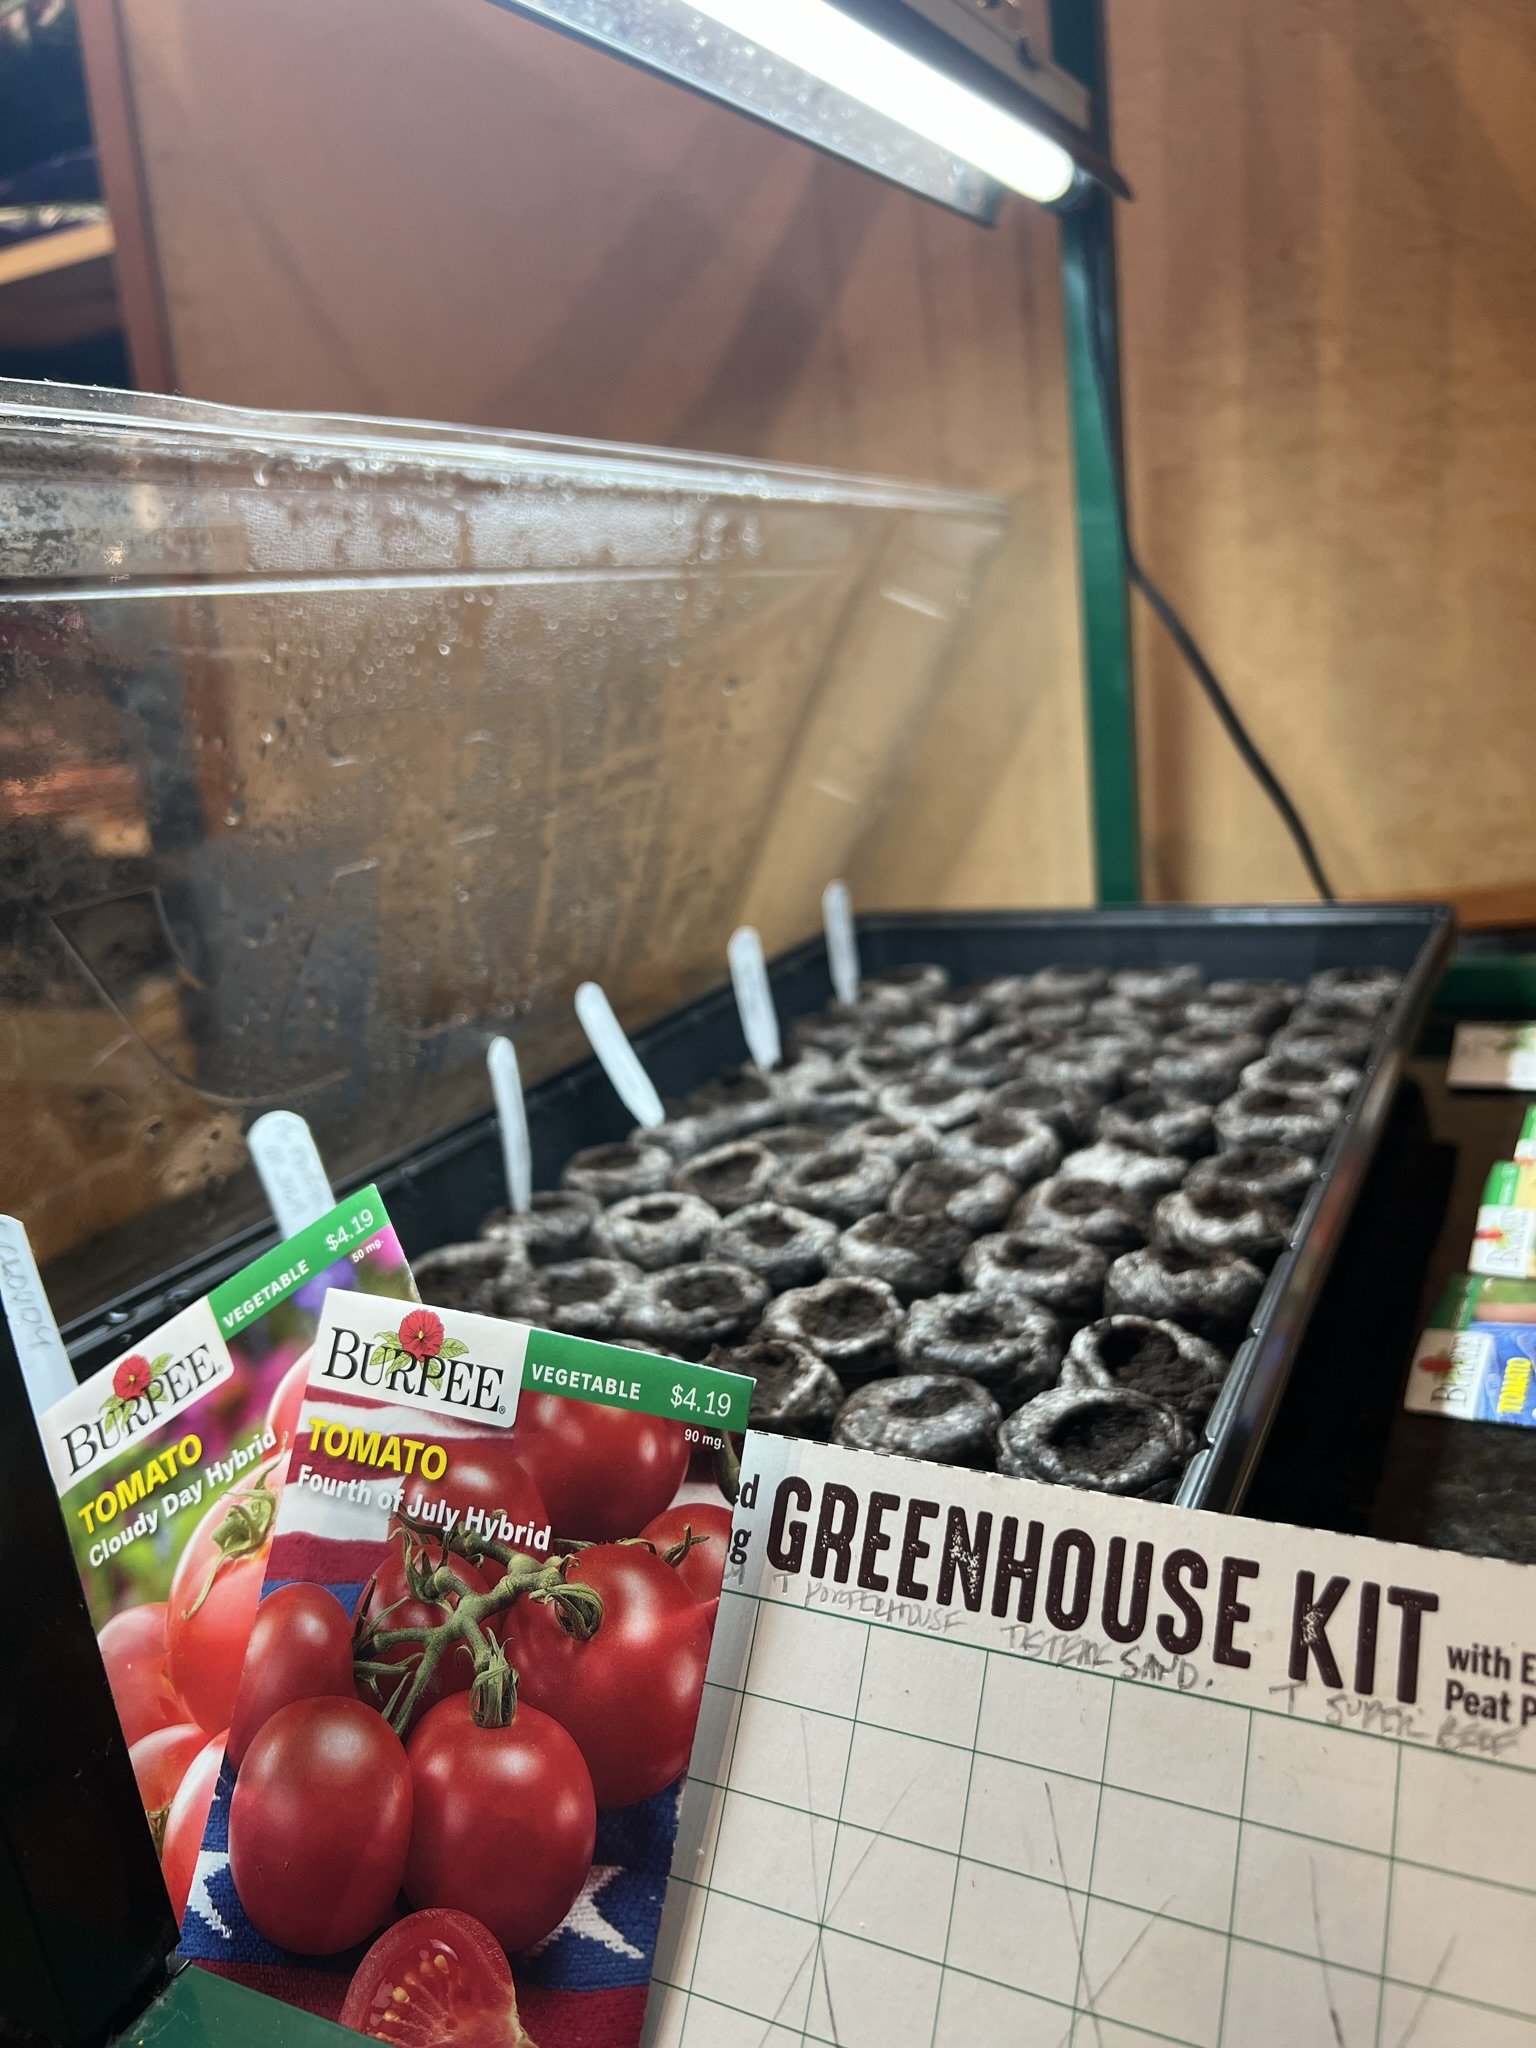
Provide Optimal Conditions- Seeds require warmth, moisture, and light to germinate. Place your containers in a warm spot, ideally between 65-75°F (18-24°C). Cover the containers with plastic wrap or a clear lid to create a mini greenhouse effect, retaining moisture. Once germination occurs, remove the cover.
Lighting- Seedlings need ample light to thrive. If natural light is insufficient, supplement with grow lights positioned a few inches above the seedlings. Keep the lights on for 14-16 hours per day, adjusting the height as the seedlings grow.
Watering- Keep the soil consistently moist but not waterlogged. Water from the bottom by placing containers in a tray of water and allowing the soil to soak up moisture or use a spray bottle to gently dampen the soil to avoid disturbing the seeds.
Transplanting- Once your seedlings have developed a few sets of true leaves and the threat of frost has passed, they're ready for transplanting outdoors. Harden off seedlings by gradually exposing them to outdoor conditions over the course of a week before planting them in your garden.
Monitor and Care- Keep a close eye on your seedlings, watching for signs of pests, diseases, or nutrient deficiencies. Ensure they receive adequate water, light, and nutrients as they continue to grow.
Check your average last Frost Date